 "Kim Jong - Healthy" (topaztouring)
10/11/2018 at 00:23 • Filed to: E39 Touring, Wagon, DIY, Diamond D, Best Kept Secret
 2
2
 3
3|
"Kim Jong - Healthy" (topaztouring)
10/11/2018 at 00:23 • Filed to: E39 Touring, Wagon, DIY, Diamond D, Best Kept Secret | 2
| 3 |
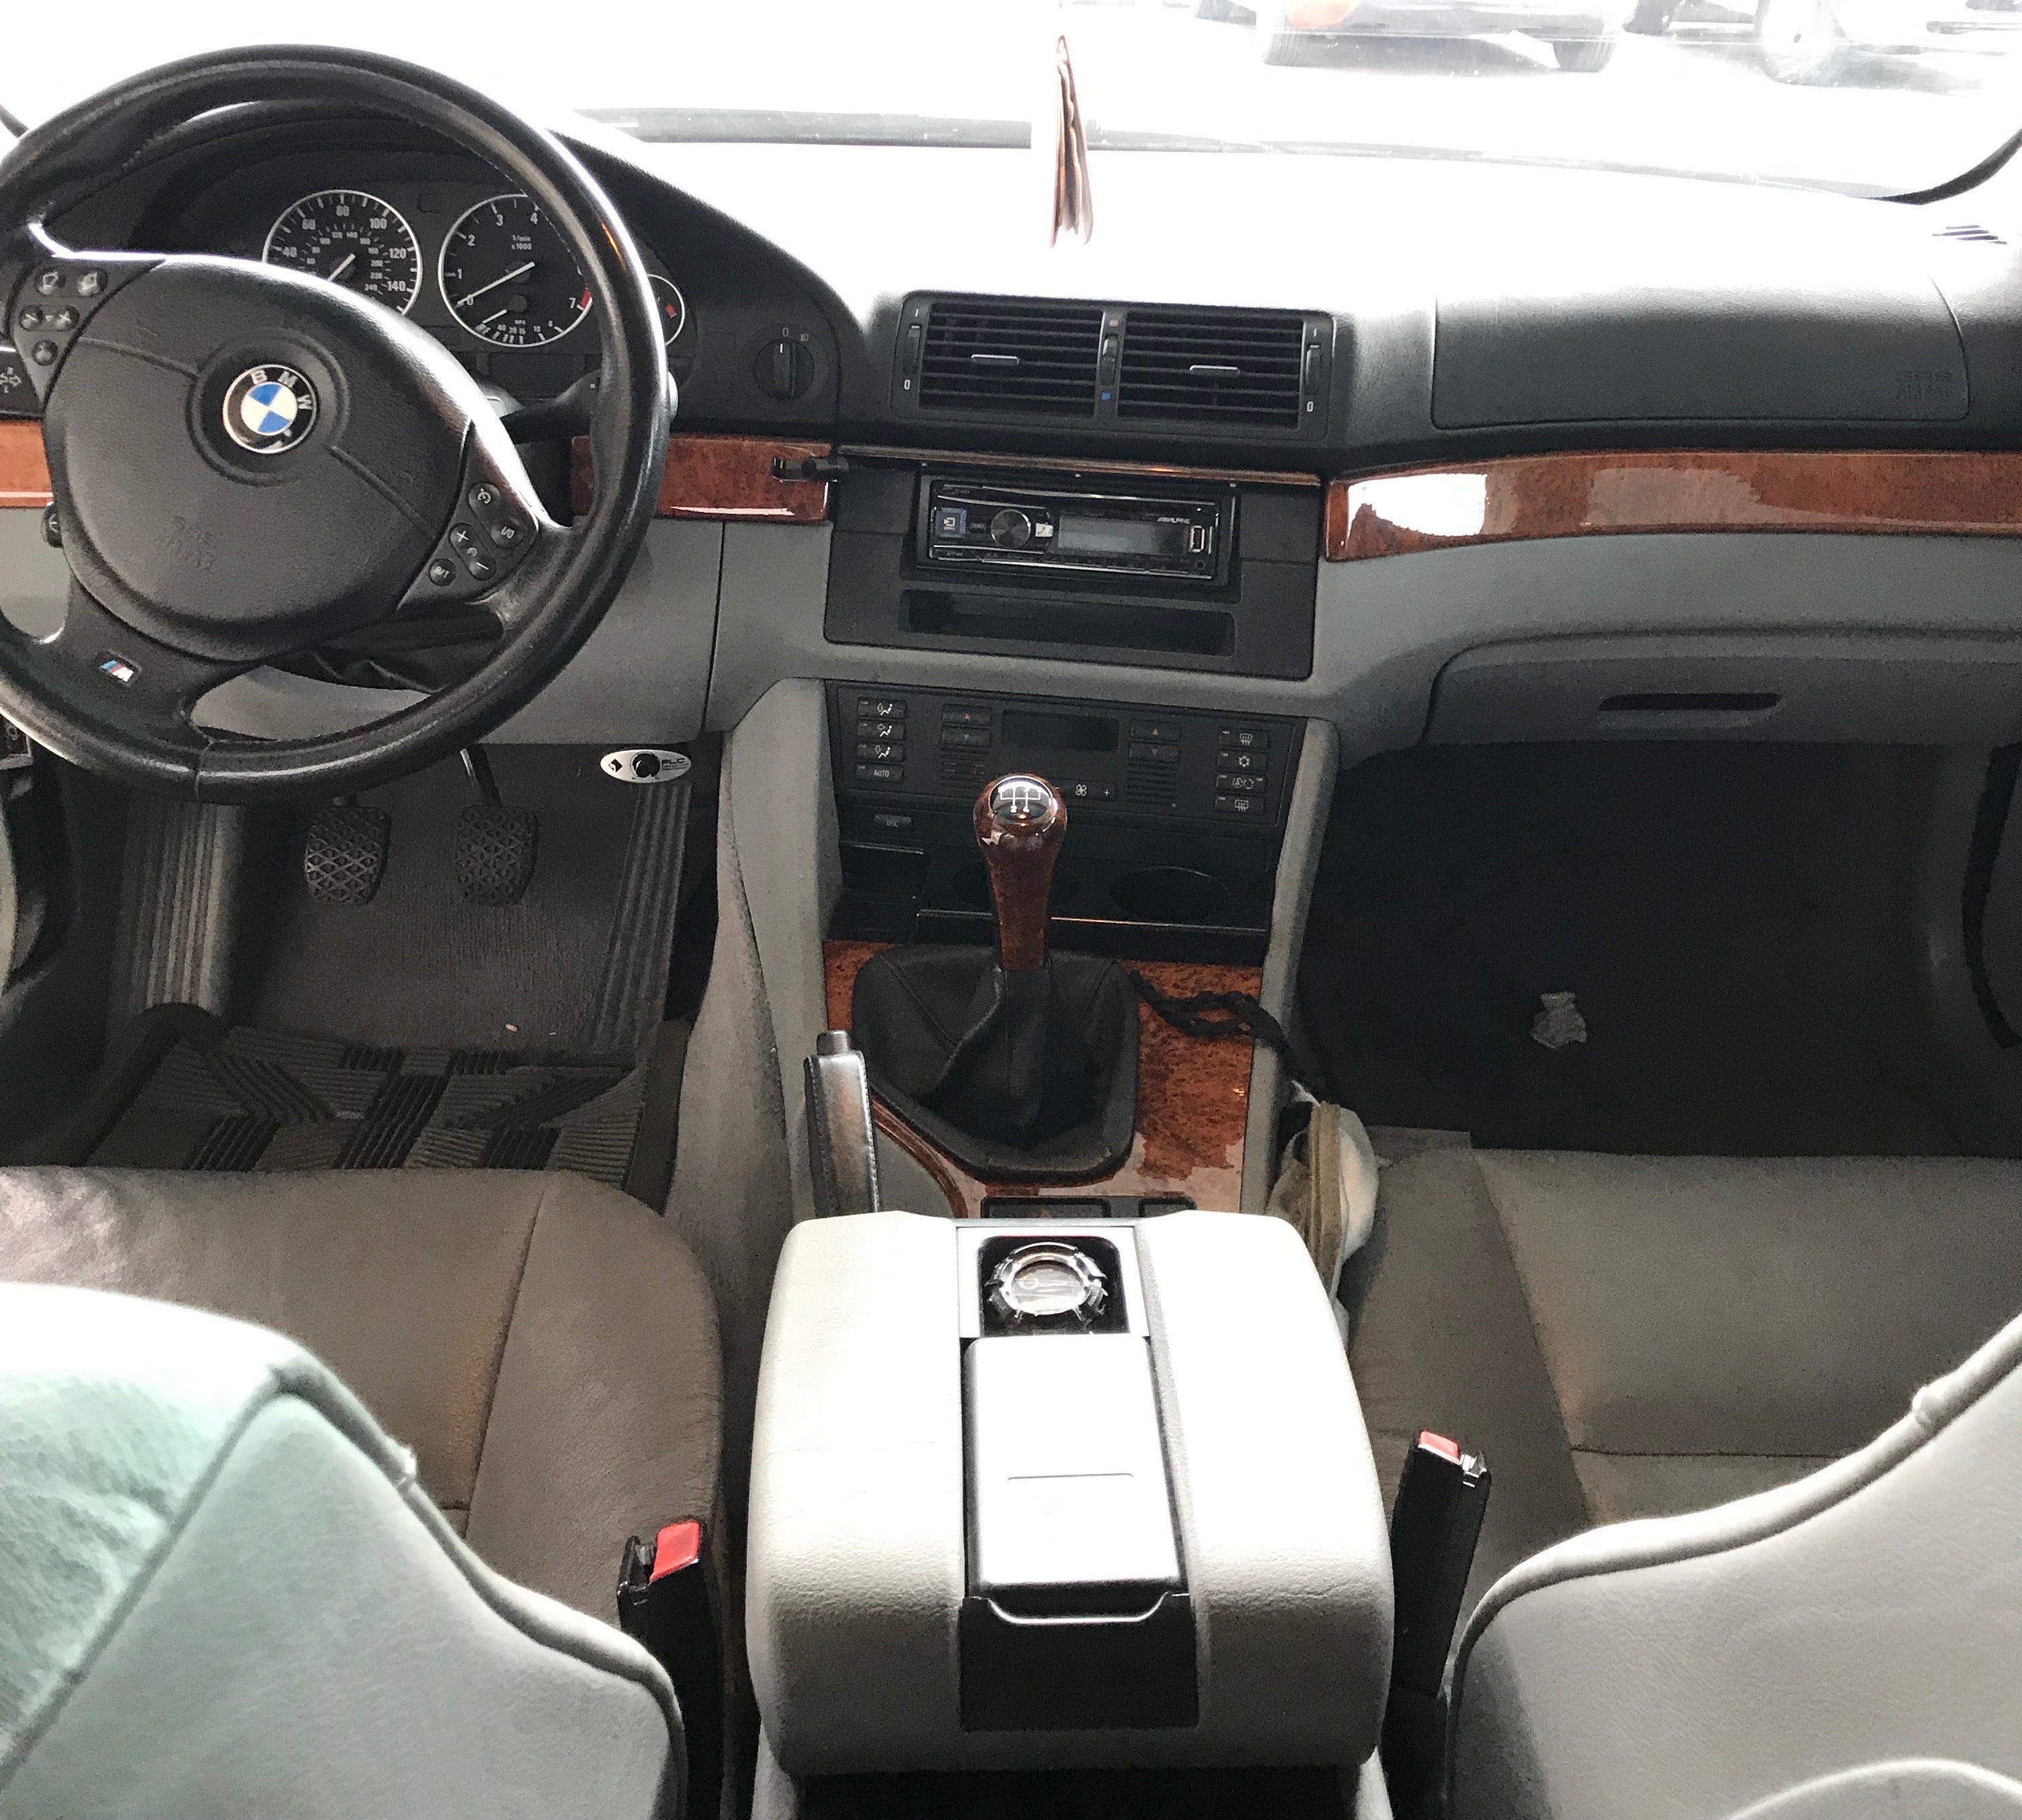
Check the ghetto clock rig with the G-Shock
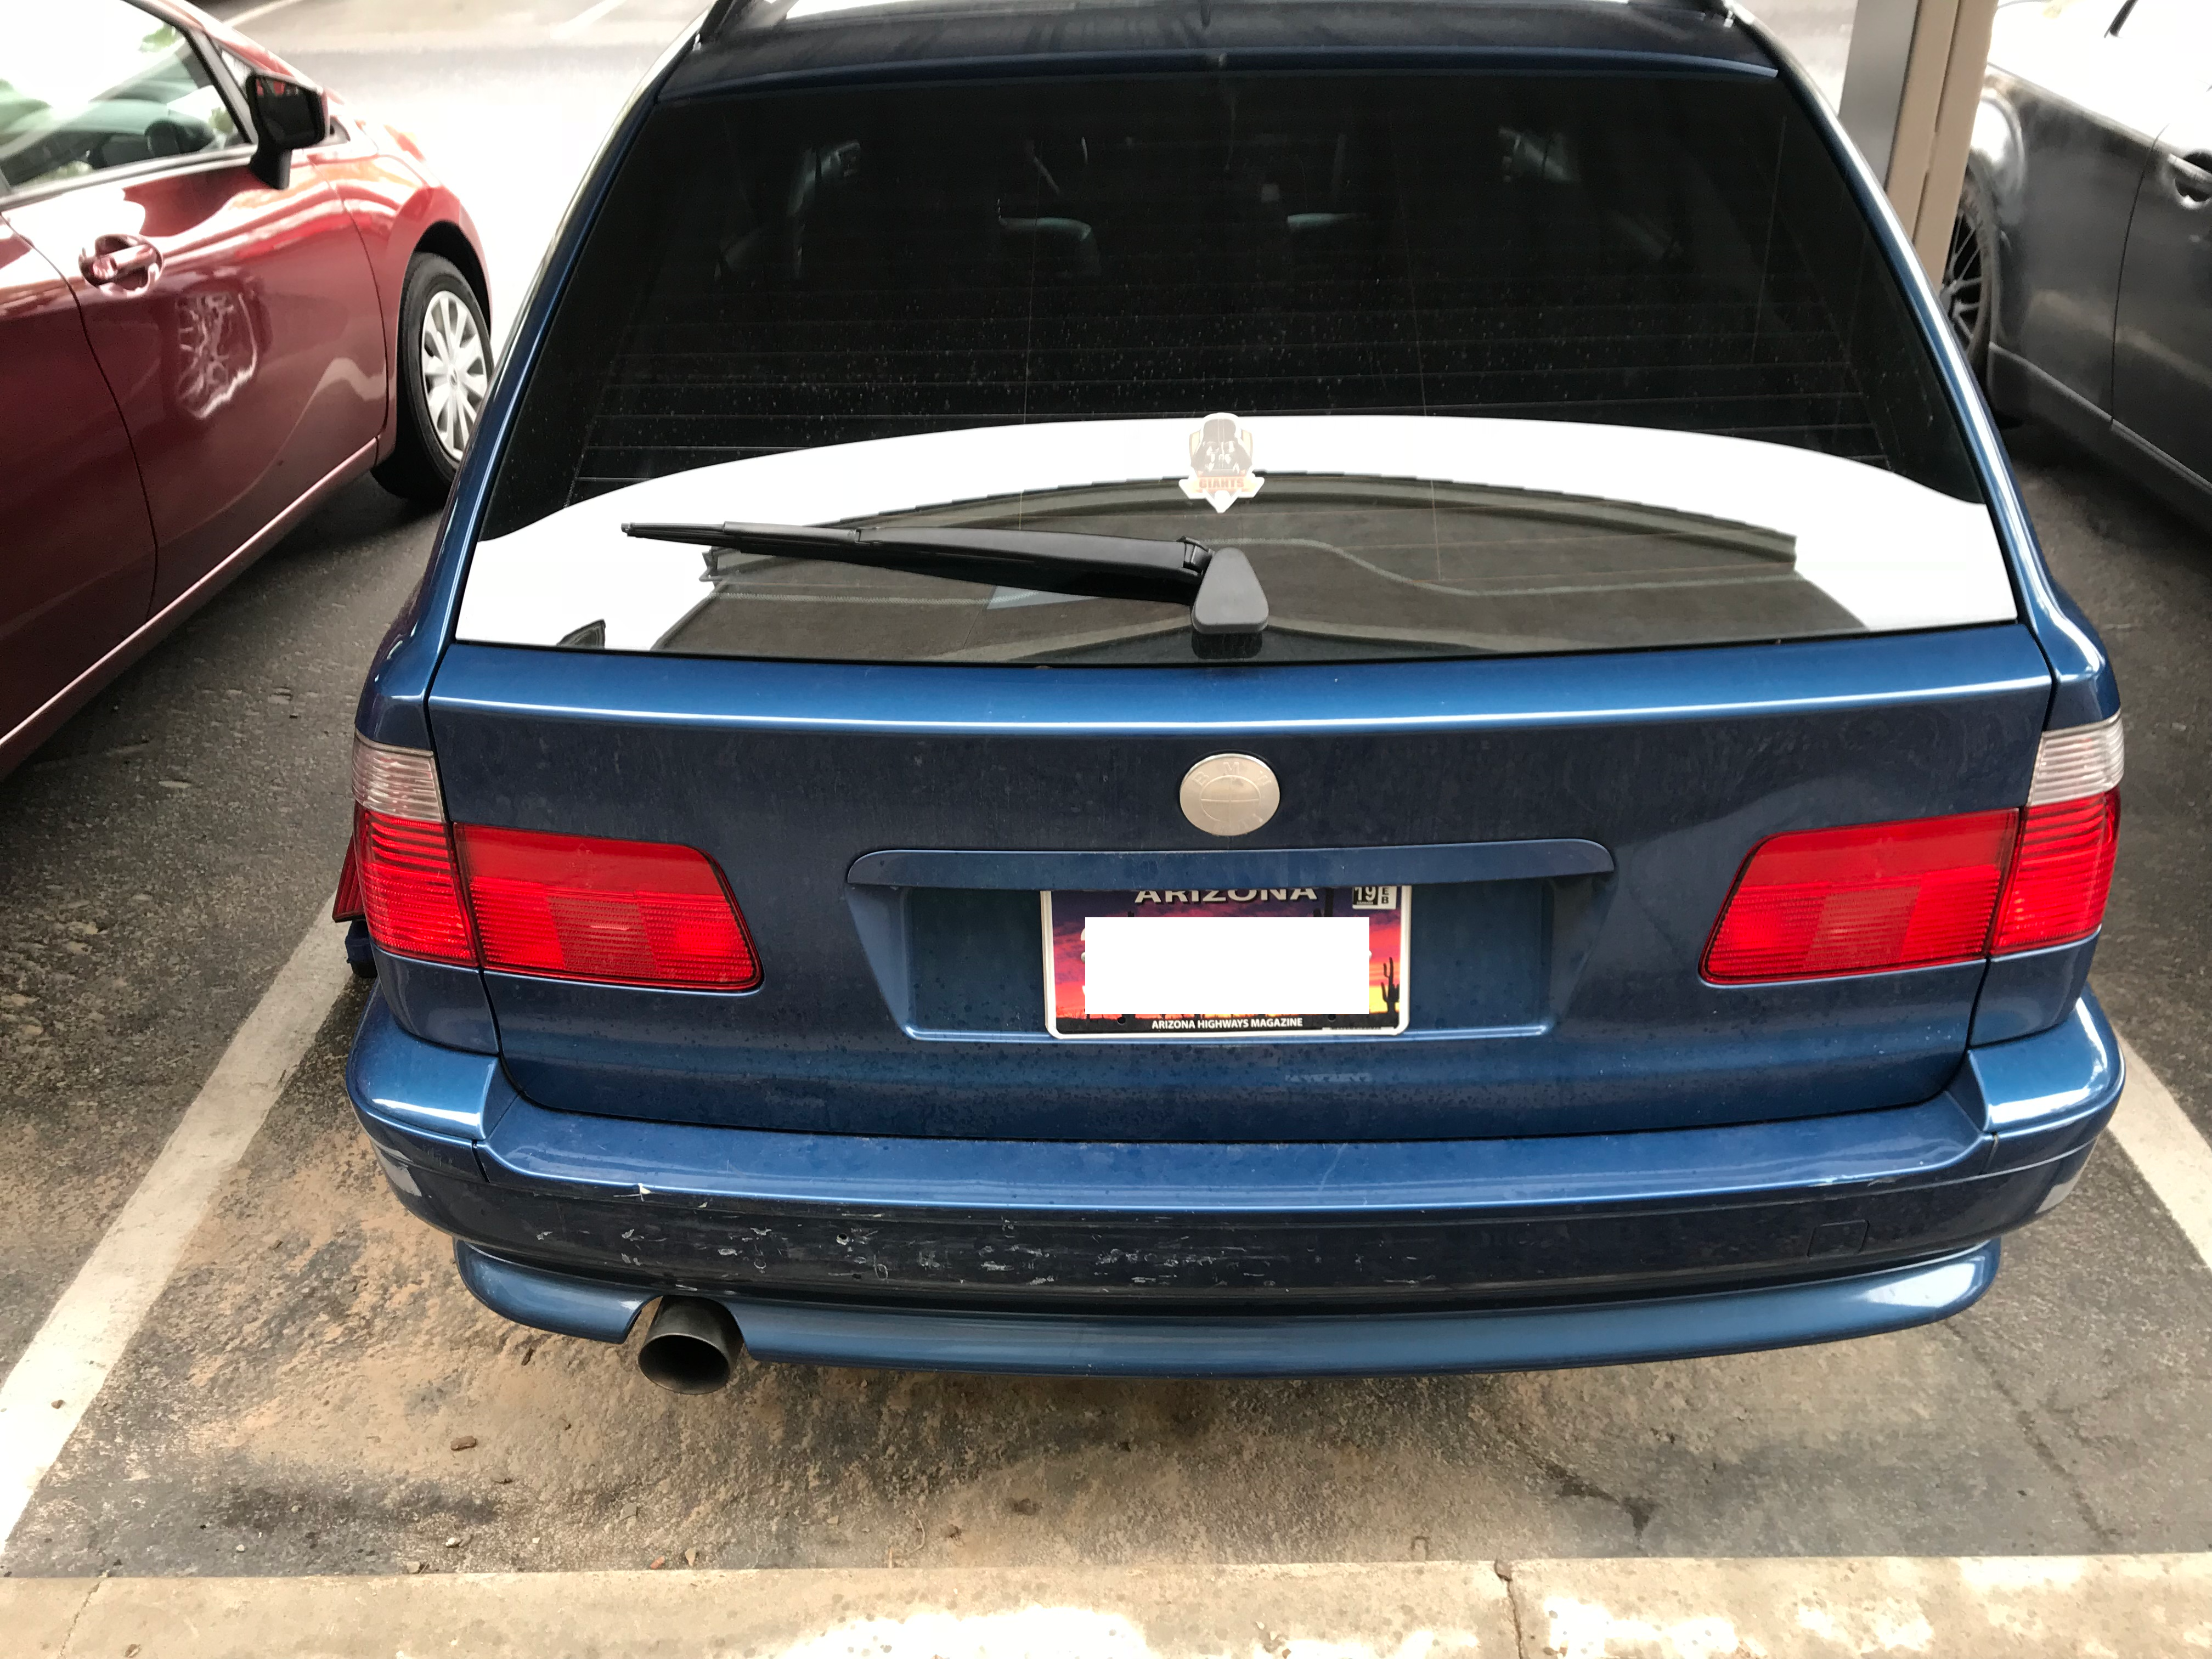
Finally got around to changing the broken tail light on my wagon.
When I bought the car, the previous owner had cracked it and covered it with translucent red vinyl tape, which led me to comfortably drive around with it for several months (woops).
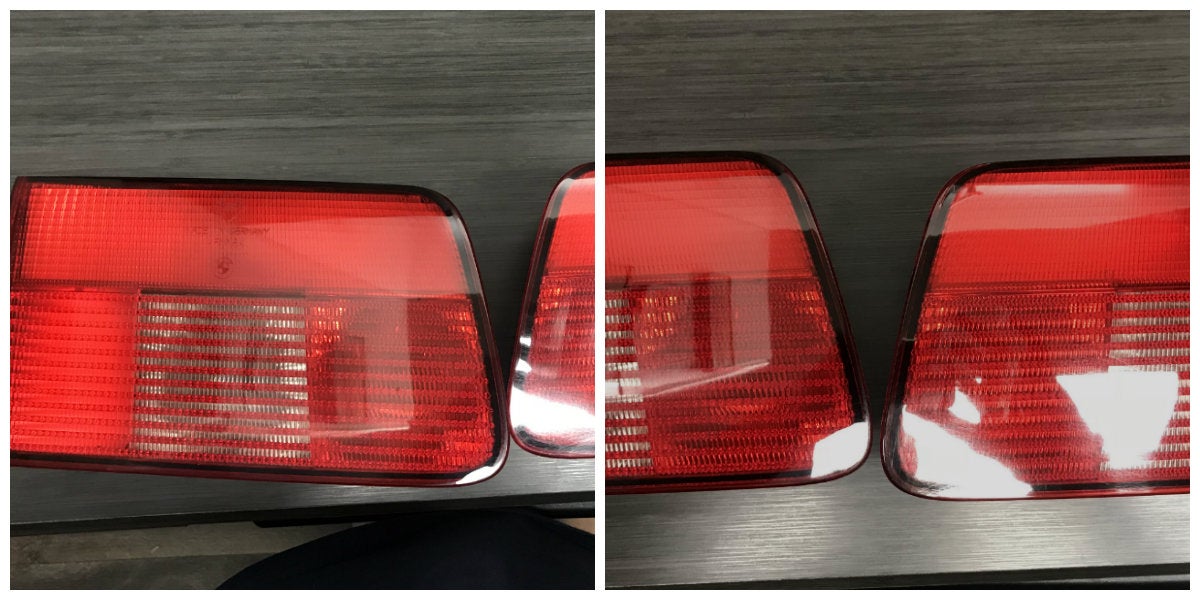
I mentioned in a previous post on my personal blog on here, Illusions of Grandeur , that I scooped up some euro spec Helis lights on the bay for the apt price of $70. They got here shockingly fast from Poland, and in pretty solid shape.
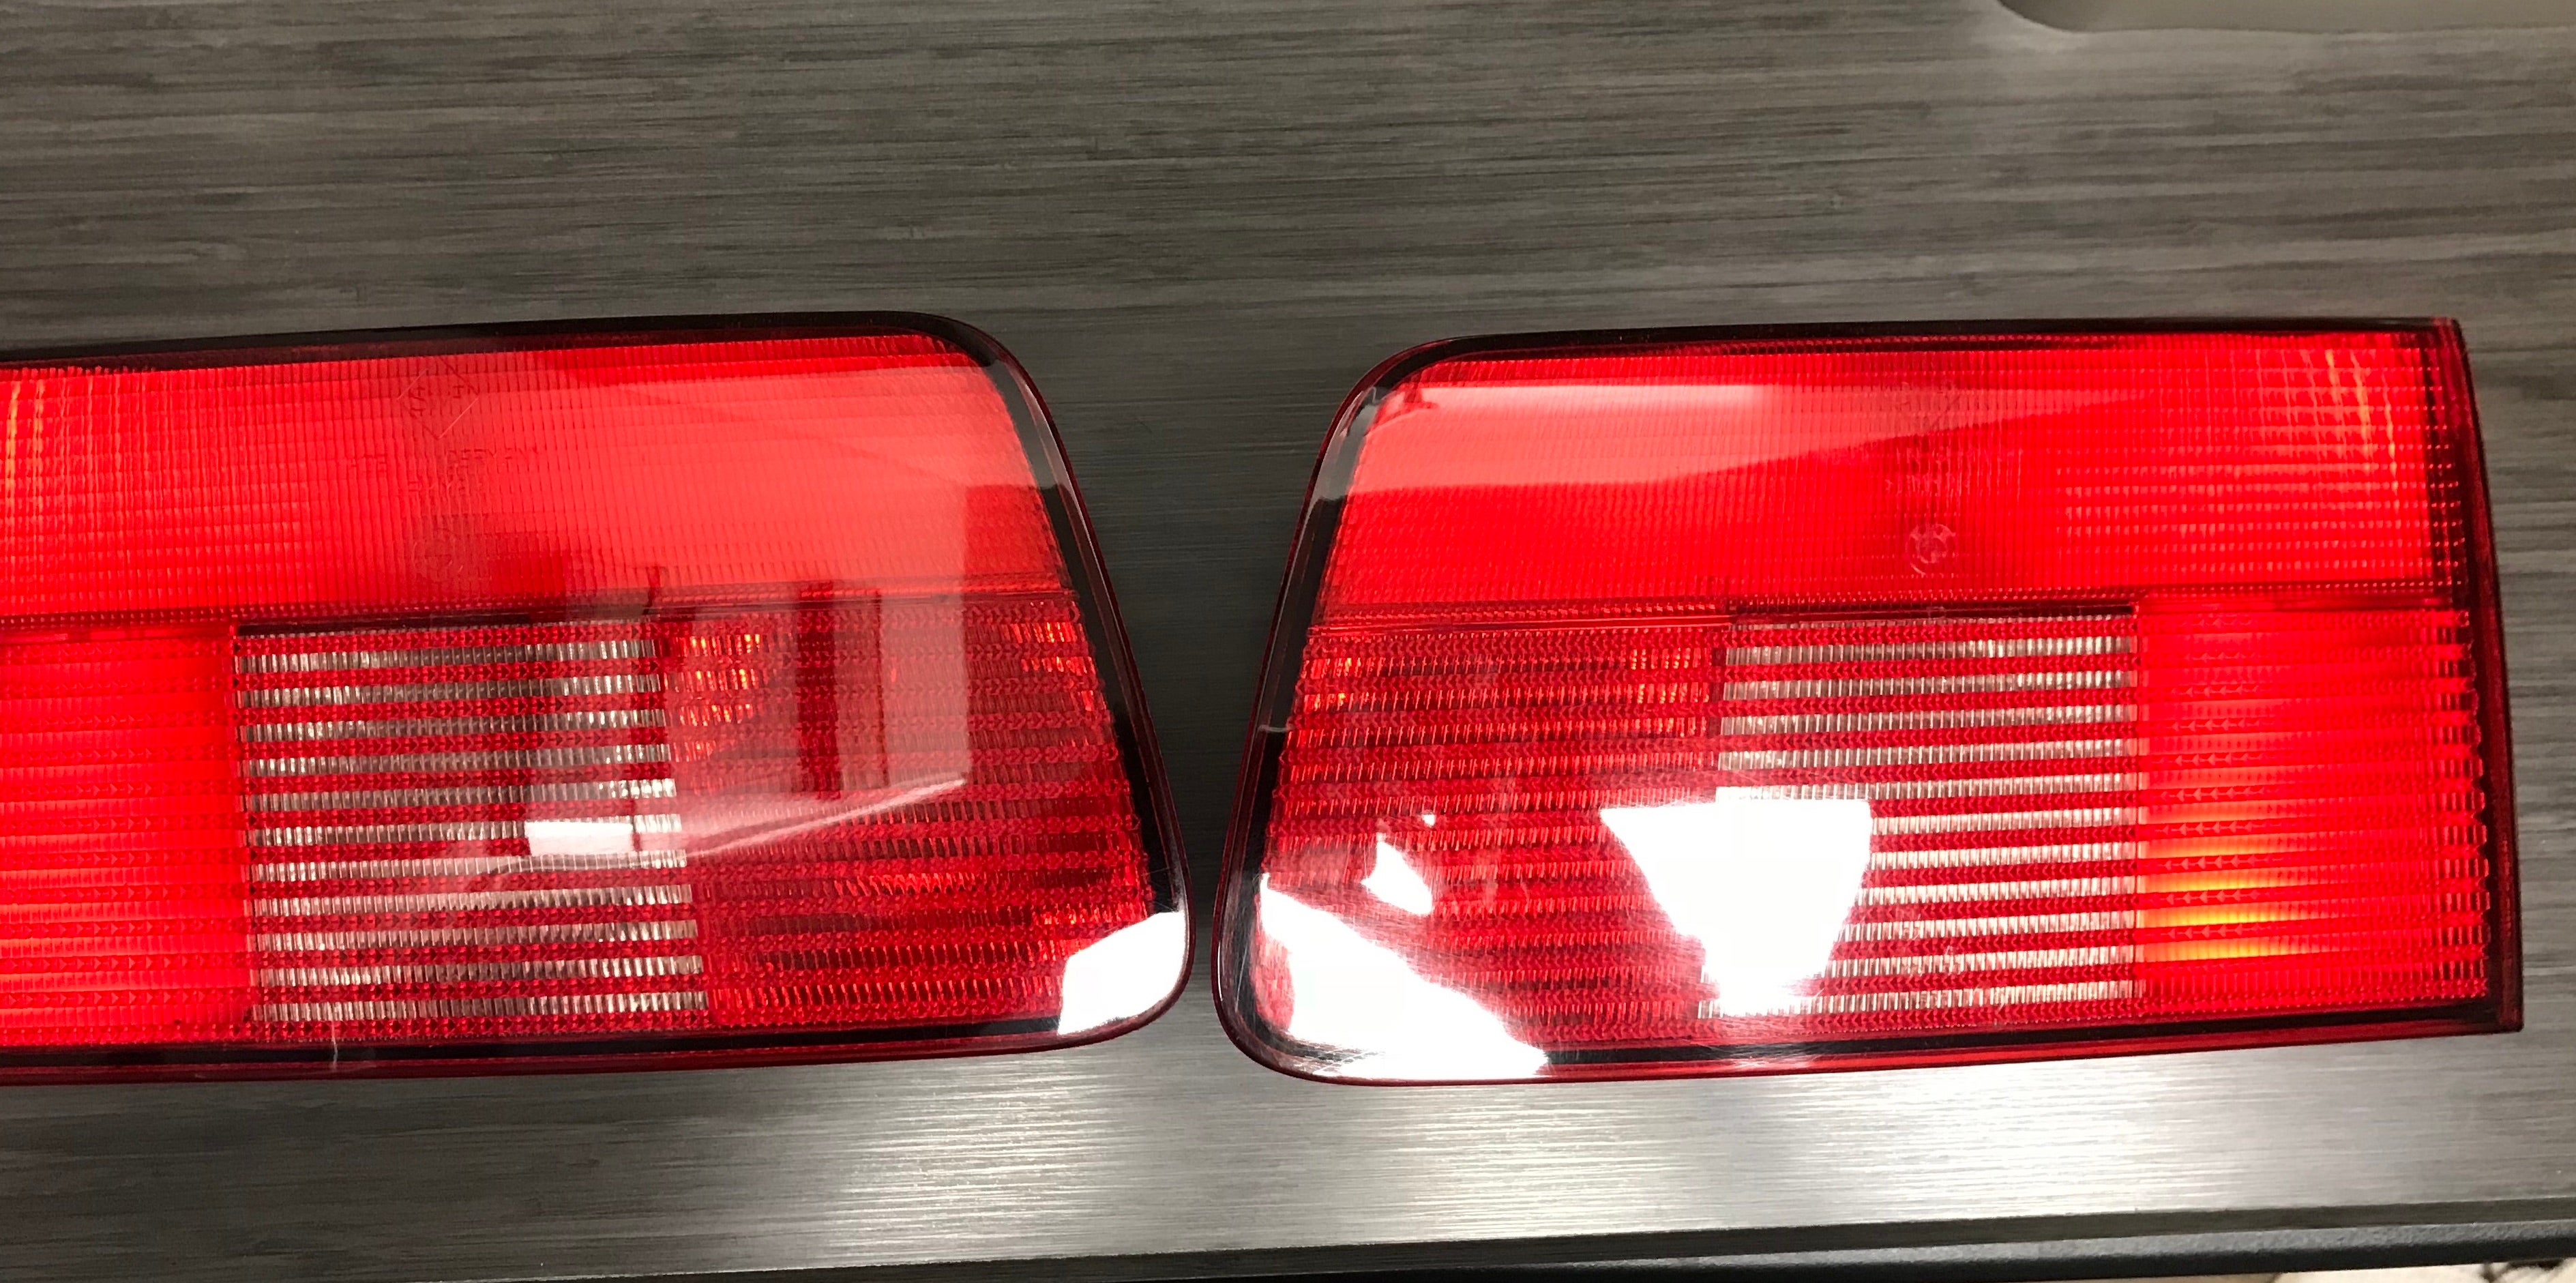
And after good scrub with soap, water, and an old toothbrush these bad boys came out looking fairly new.
Now for some reason the Bentley service manual does not cover how to remove or access these taillights, which was...interesting to find out. After an hour of searching Bimmerfest, and finding out its referred to as the “rear lid light” I came across this diagram.

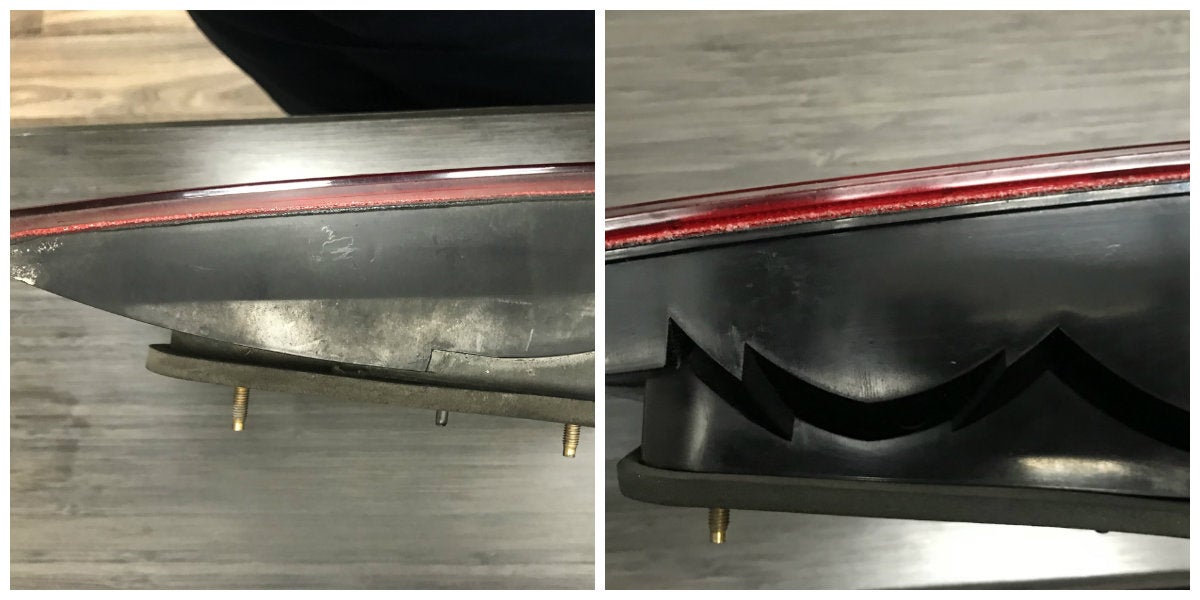
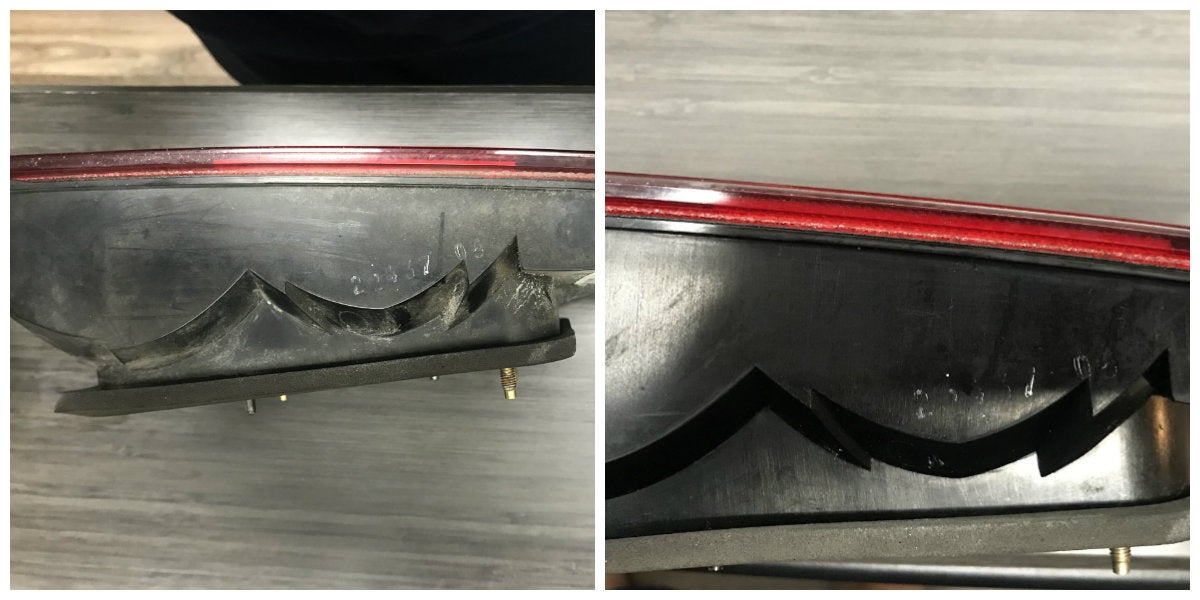
After 30 minutes of thinking I had to remove the liftgate molding on the inside, I realized the nuts were hiding behind a thin sheet of insulation after removing the socket housing. Now these bolts are conveniently placed so that if you loosen the nut without holding it between two fingers, it will fall into the hollow frame of the tailgate never to be seen again. I realized this about one or two threads before the piece came out, luckily, as I probably would have lost it after the bonehead move of trying to take off the molding earlier.
The rest of the job took twenty minutes and came out looking pretty damn sweet if I do say so myself.
Tunes for your time:
 Tapas
> Kim Jong - Healthy
Tapas
> Kim Jong - Healthy
10/11/2018 at 07:21 |
|
Neato!
 Nibby
> Kim Jong - Healthy
Nibby
> Kim Jong - Healthy
10/11/2018 at 08:35 |
|
shades of death are all i see
fragments of what used to be
 diplodicus forgot his password
> Kim Jong - Healthy
diplodicus forgot his password
> Kim Jong - Healthy
10/11/2018 at 08:35 |
|
Ive found there is a lot of stuff in the e39 Bentley that is glossed over. Wish I was smarter at computers.and had gotten my bootleg inpa working.